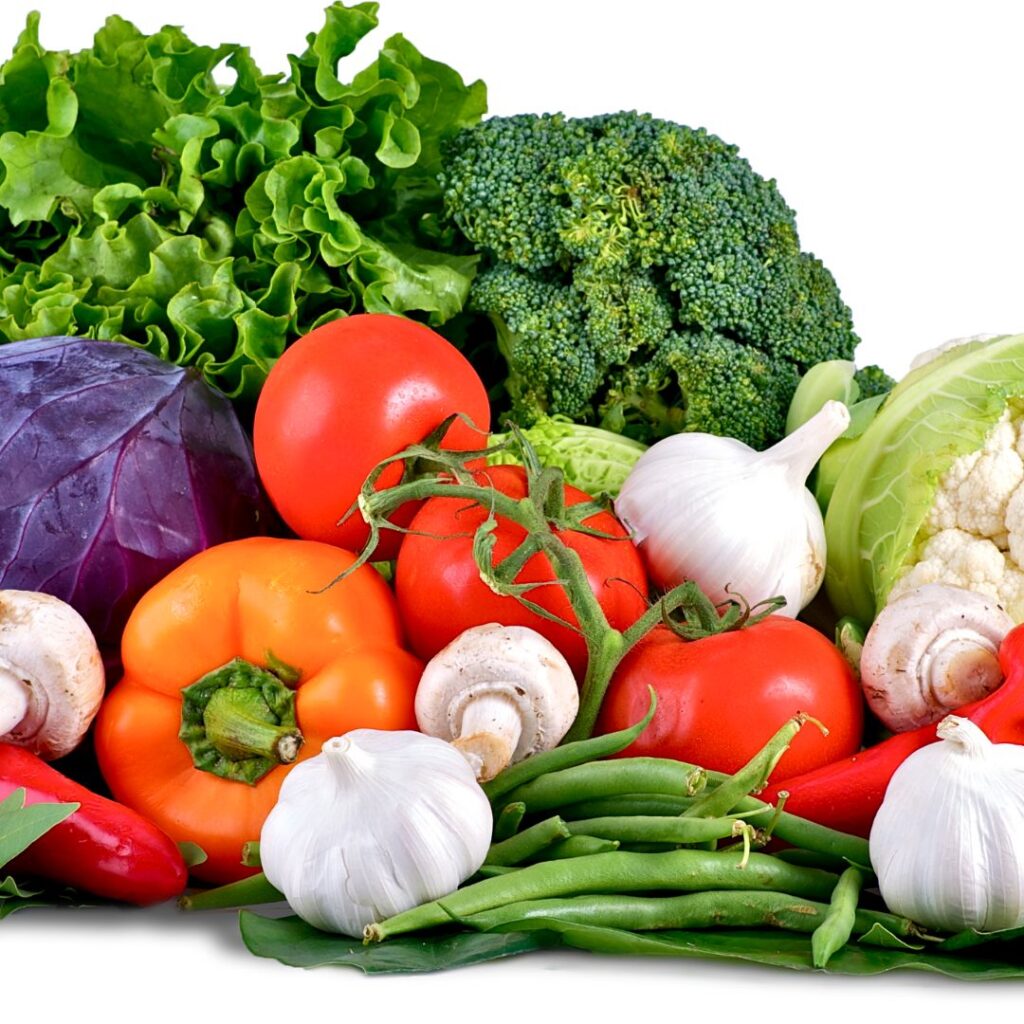
We’re going to explore many of the best ways to preserve your garden harvest. Gardeners often find themselves with an excess amount of one vegetable, fruit, or another. And they didn’t plan ahead on what to do with it all. All that hard work and delicious food can go to waste quickly if you’re not prepared. So it’s important to preserve it before it goes bad. With a little prep and a handful of supplies, you can have fresh produce to last months. Some methods can preserve years.
Harvest Fresh Year-Round
There are many ways to preserve your garden bounty, Easiest and favorite way is by freezing. Another option is canning; you can find lots of recipes online.
Then there’s dehydrating your veggies or fruits using an oven or a food dehydrator–this method takes a little longer but is worth it because you end up with lightweight packets of dried produce that will last for months or even years.
All of these methods will improve your shelf life, allowing you to enjoy your foods for much longer than if not used.
Why Should You Bother To Preserve Garden Harvest?
There are many reasons to preserve your garden harvest. For one, it allows you to eat healthy, organic food all year long. It can also save you money on groceries. In order to preserve food, you’ll need special equipment like a pressure canner or dehydrator. But preserving food doesn’t have to be complicated – there are many ways to do it, like canning and drying.
Everyone should start preserving – it’s the ideal way to ensure that you always have healthy, delicious ingredients and meals available.
Storing your crop
Now that you have harvested all your fruits and veggies, it is important to store them properly so they will last. The first step is to make sure the produce is clean and dry. Then you need to choose the right storage container.
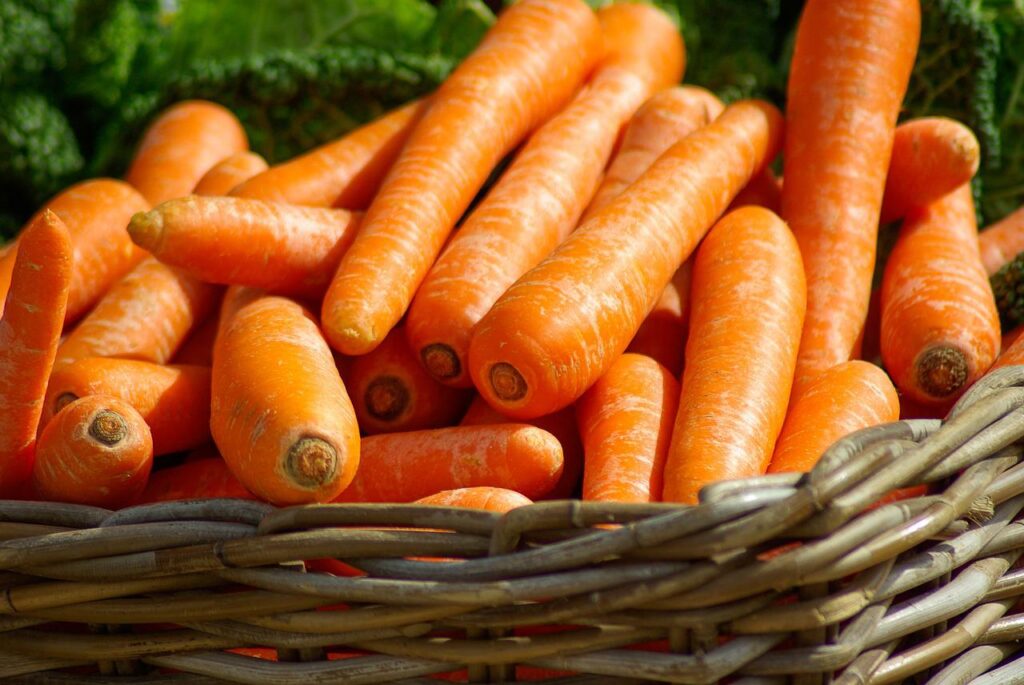
Some fruit and vegetable choices can be stored together. Apples and pears, for example, can be stored in a cardboard box or plastic crate. Make sure there is good ventilation in the container so the fruit can breathe. Other vegetables such as potatoes, onions, and carrots can be stored in a dark area like a cupboard or cellar. They should not be left on wet ground, which can cause molds to form.
Leafy crops such as lettuce and spinach should be eaten within a few days of harvesting. They do not store well.
Root vegetables such as carrots, turnips, and parsnips can be stored in a single layer without wrapping them in any material. Be sure to inspect them regularly for signs of decay or pests.
Pumpkins, zucchini, and butternut squash may last until early spring if they are kept in a cool place like a shed or garage. However, they do not store well in warm places like kitchens or attics.
Legumes such as beans, peas, and lentils can be dried for use in stews or blanched and frozen.
1. Fresh Storage
When you’re picking your fruits and vegetable harvest, be sure to choose wisely. Some produce can last for a while if handled correctly, but others should be eaten as soon as possible. Here are some tips on how to keep your yield fresh:
Apples: Apples should be stored in a cooler, dry place. Make sure they’re not touching each other, as this will cause them to rot faster.
Beans: Beans should be stored in a paper bag in the fridge. They’ll stay fresh for about five days this way.
Celery: Celery can last up to two weeks when stored properly. Keep it in the fridge with the leaves wrapped around it, and make sure it’s damp before putting it away.
Lettuce: Lettuce is best kept in a sealed container with a little water at the bottom. It will stay fresh for about four days like this.
If you’re planning on using any of your produce in the upcoming week, products like green bags can greatly extend the freshness, quality and taste of your foods. For items placed in your crisper drawers there are green liners that can easily be trimmed to fit your drawers. The best part is they are reusable!
2. Storing Your Root Vegetables
Potatoes, Sweet Potatoes / Yams, Onions, Garlic, and more. These can have their freshness lengthened greatly by using the root storage method. Find a place that is between 32 to 38 degrees Fahrenheit. It will also need to be dark and well ventilated. Metal bins, Mesh bags, and even wicker containers are all great choices.
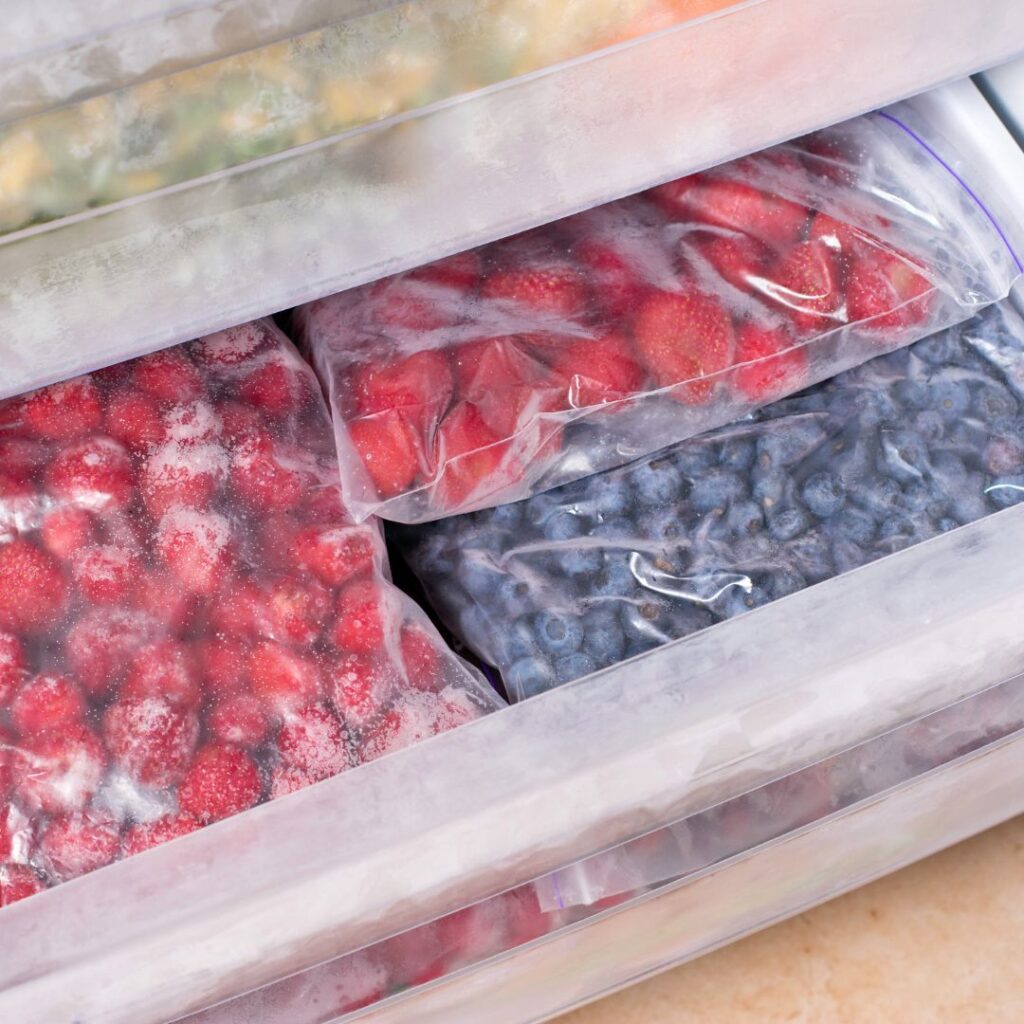
3. Freezing
When you freeze your veggies, it’s important to blanch them first. This will help kill bacteria and inhibit the enzymes that can cause vegetables to lose their color, flavor, and nutrients. It’s also a good way to prepare your fruits for sugar syrup packing.
However, you don’t want your vegetables to turn out too soft after they’ve been frozen. That’s why it’s important to quickly dunk them into ice-cold water after blanching. This will stop them from cooking all the way through.
This is a favorite way to have fresh green beans year-round.
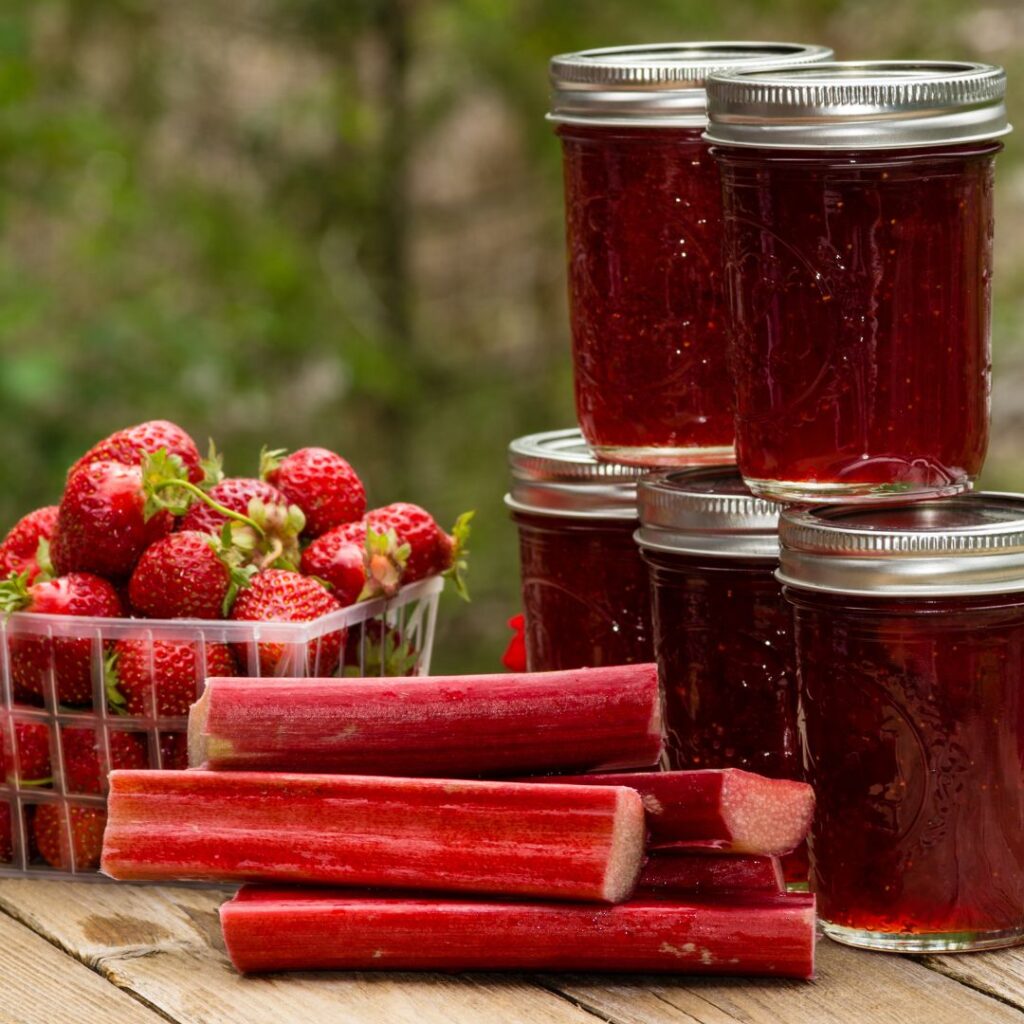
4. Freezer Jam
Making freezer jams is a fun way to preserve your garden harvest. There are different ways to make freezer jam, but this method is quick and easy. This method yields an edible jam that lasts up to a year in the freezer.
The Strawberry Rhubarb Jam recipe is easy and quick to make. A no-sugar Strawberry Rhubarb Jam can be made by using chia seeds instead of sugar as a thickening agent. Freezer jams are easy to make, and you can customize them according to your tastebuds. This recipe combines strawberries and rhubarb in a freezer jam which is easy to make.
5. Pesto
Make use of all that fresh basil and garlic you’ve harvested. Pesto is a delicious and versatile way to add a savory taste to your meals. You can use it on pasta, vegetable dishes, sandwiches, or soup.
It’s also great frozen for up to a year. And if you’re looking for a cheaper version of pesto, switch out the pine nuts with walnuts or sunflower seeds.
Freeze your pesto in ice cube trays for ease of use when ready to cook.
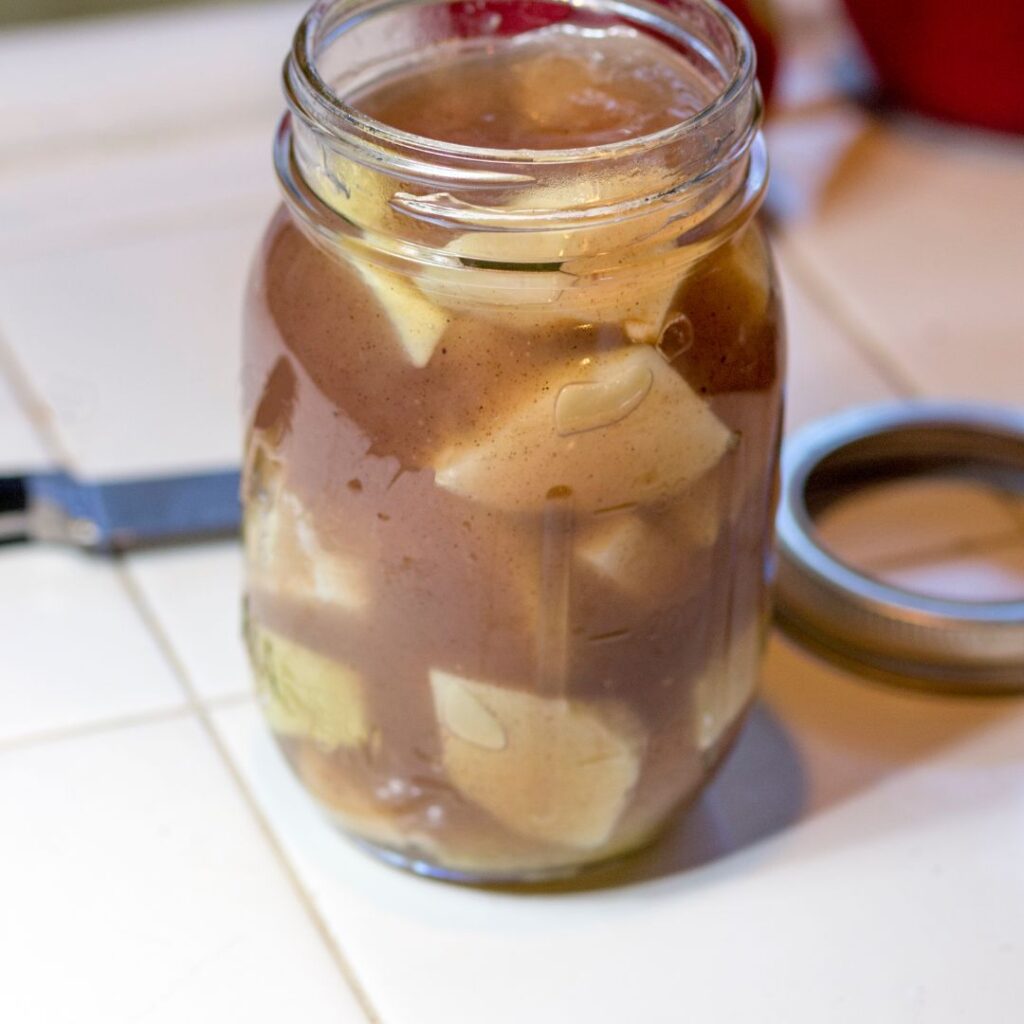
6. Water Bath Canning
Can your harvest using the water bath method is the simplest way to start preserving food. In this process, you place jars of foods in a large pot or container of water that is already boiling. You then bring the water back to a boil, which kills any bacteria present in the food. Let boil as the recipe instructions indicate. The boiling water also creates a vacuum seal on the lid of the jar, preventing any air from entering and causing spoilage.
This is one of the easiest ways to ensure your food is safe for consumption. This makes it an ideal method for beginners who are just starting out with this method.
In addition to being simple, water bath canning is also relatively quick. It usually takes between 10 and 20 minutes to bring the water to a boil, after which you can let it cook for another 10 minutes or so before removing it from heat. This means that you can have dinner ready in no time!
note: if re-using canning jars, remember to check for cracks, especially around the rim. Also never ever re-use lids.
One downside of using a water bath is that it cannot be used for all types of foods.
You’ll find this method perfect for tomatoes and salsas, fruits and fruit pie filling, jams and jellies, pickles, and relishes.

7. Salsa
Salsa is a great way to use up vegetables. You can make it with a variety of vegetables, including tomatoes, onions, peppers, and beans. It’s also easy to customize the recipe to your taste.
Salsa is a popular dish because it’s so versatile. You can eat it as an appetizer or main course, and it goes well with both tortilla chips and tacos.
If you have too many tomatoes or peppers, you can easily preserve them by making salsa. Just chop the vegetables and add them to a pot with some garlic, onions, and spices. Cook until the vegetables are soft, then add vinegar or lemon juice for acidity. Let the salsa cool before packing it into jars or containers for your freezer.
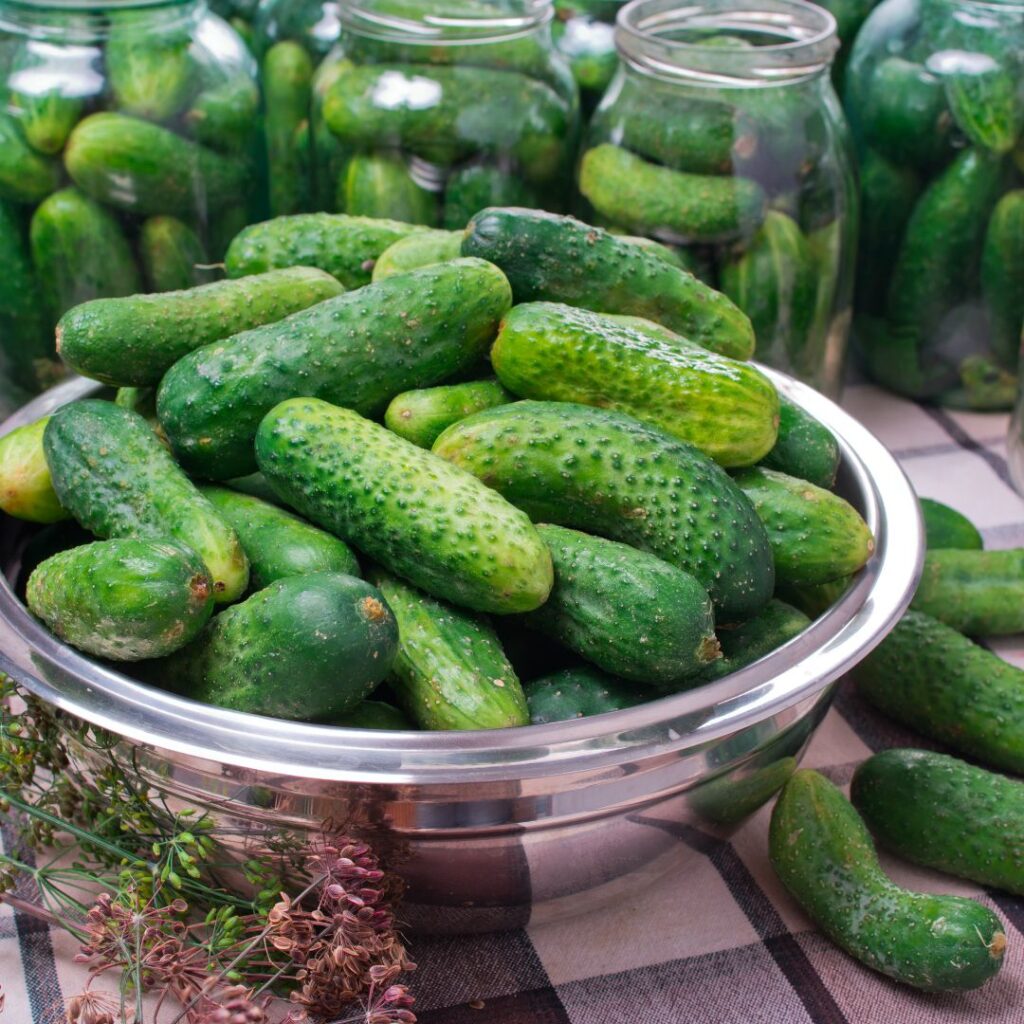
8. Pickling
Pickling is a way to preserve your garden harvest. You can pickle vegetables, fruits, and even meat. Pickles are shelf-safe and do not require a long fermentation period before canning.
Canning is the process of preserving foods by heating them to a temperature that destroys microorganisms that cause spoilage. A water bath canner is an easy-to-use appliance that heats foods in a jar in boiling water. It’s important to follow the manufacturer’s instructions for your specific canner.
Pickling instructions vary with the type of food being pickled. There are many different types of pickles, from cucumber pickles to dill pickles to pepperoncini peppers. For information on how to make a particular type of pickle, consult a reliable recipe source such as Ball® or the NCHFP website.
9. Pressure Canning
Using a pressure canner is a safe way to preserve low-acid foods, such as beans, green beans, and carrots. This process destroys bacteria that cause botulism in the soil or produce at room temperature. Pressure canning requires keeping food at 240 degrees F for a specified amount of time.
The water bath method of canning and pressure canning are two different types of processes. The temperature when boiling the water is enough to kill botulism, but it’s not strong enough to kill the spores. That’s why pressure canning is required for low-acid foods like green beans and meats. The process of pressure canning requires a much higher temperature than regular boiling–up to 240 degrees Fahrenheit!
10. Dried Herbs
Herbs are easy to dry and make a great addition to any storage plan. There are many ways to dry them, but the most popular methods are sun drying and dehydrating. Herbs can also be frozen or canned, but drying is the best way to preserve their flavor and nutrients.
Sun-drying is the simplest way to dry herbs, but it can be slow and unpredictable. Tie the herb into a bundle and hang in a sunny spot with good airflow. Be sure to keep them away from moisture and dust. The downside of sun drying is that it can take several days for the herb bundles to dry completely.
Dehydrating is a faster option than sun drying, and it produces better results. Use a dehydrator or your oven on its lowest setting if you don’t have a dehydrator. Dehydrators work by circulating hot air around the food, which dries it quickly without cooking it. Herbs should be dried at temperatures below 115 degrees F so they retain their flavor and nutrients.
Store dried herbs in an airtight container in a cool, dark place until you’re ready to use them. They will keep for weeks or months as long as they are kept away from humidity and light sources
11. Vine-Dried Beans
Drying beans is a great way to preserve them for later use. You can dry them in the sun, but I find it’s easier to use a dehydrator. If you have one, just follow the manufacturer’s instructions.
If you don’t have a dehydrator, you can still dry beans by spreading them out on a screen or tray in direct sunlight. The disadvantage of this method is that it can take several days for the beans to dry completely.
Once the beans are dried, store them in an airtight container in a cool, dark place. If possible, keep them in a refrigerator or freezer.

12. Dehydrating
Dehydrating is an old preservation method that removes most water from fruits and vegetables, preventing spoilage and making them compact enough to travel with. Pretreatment such as blanching can help preserve the food you are dehydrating even more by removing enzymes that could cause the browning of apples or veggies.
Dehydration uses dry air to remove moisture in food, which kills microorganisms. Consult the manual that comes with your dehydrator for drying times and other factors.
13. Flavored Vinegar
Flavored kinds of vinegar are a great way to add some pizzazz to your salads or steamed veggies. They’re also perfect for giving your kitchen that homemade touch. Plus, they make wonderful gifts!
Strained-infused vinegar can last up to two months in your refrigerator and two months on your counter.
Flavored vinegars taste great and add a bit of extra nutrition to your meals. Best of all, they’re easy to make and don’t require any special equipment.
14. Infused Olive Oil
Want to wow your friends and family with your culinary skills (even if you don’t have any!)? Try using the infused olive oil for recipes, making pesto (which you can make and freeze), and even dipping in a nice crusty bread.
Infused olive oils will keep for 2 weeks at room temperature, yet can keep fresh for up to a year if stored properly. Infuse using the stovetop method, strain, and store refrigerated for up to one year. Details can be found here.
15. Cooking with the fruits of your labor.
We’d be remiss if we didn’t state the obvious. One great way to extend the life of your garden’s flavors is to bake and make delicious foods and freeze them for a quick and easy meal or snack throughout the year. Some favorites are pies, breads, and muffins. Then there are sauces with your tomato haul, garlic, and more. Eggplant parmesan, baked or fried into casseroles is always welcome on a busy night, just heat from the freezer and serve. Vegetable lasagna using your zucchini as noodles! The list is endless. Not only will you save money, but you’ll also get to enjoy the fresh taste over and over again throughout the year.
Extra Tips:
- Remember to share, share share.
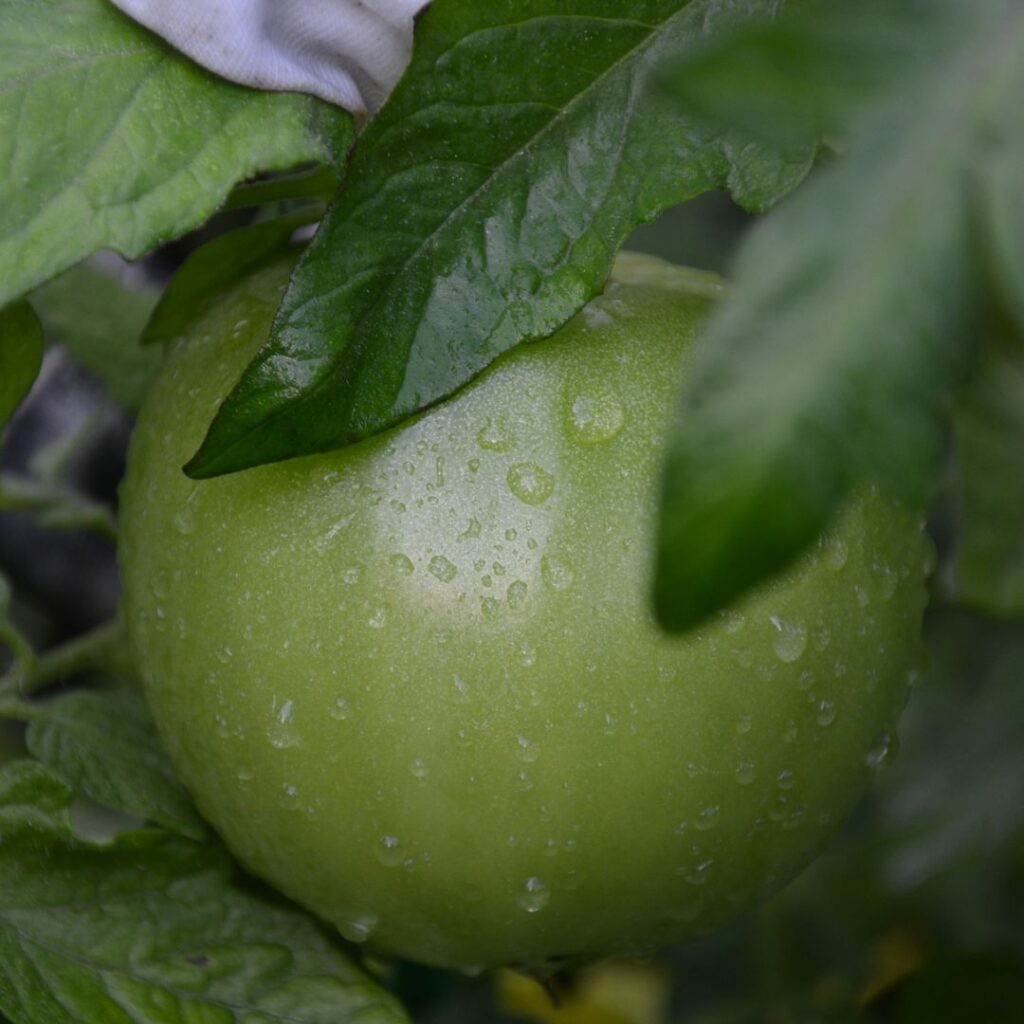
- Don’t overlook items like green tomatoes, they make great pies, and relishes/ piccalilli.
- When cutting pieces off your produce, toss in freezer bags and use later (wrapped in cheesecloth) for stock in soups, stews, gravy, and sauces.
- Less than desirable sections can still be tossed in the compost bin for next year’s soil nutrients.
- If you have chickens, share scraps with them for a healthier diet.
How to Save Seeds From Your Garden Harvest
The easiest seeds to save are beans, cucumbers, melons, peas, peppers, tomatoes, and watermelons.
For seeds from beans (like green beans, waxed beans) and peas, wait until the pod is dried on the vine and starting to split open. Pick, open, and remove the bean seed or pea and place on a dry paper towel for a few days to a week to fully dry. Place in a labeled envelope until next year.
Seeds like cucumbers, melons, peppers, and tomatoes are taken when veggie or fruit is ripe. Remove seeds with fingers, and rinse in a strainer or cheesecloth to remove as much pulp as possible. Place on a dry paper towel for a few days to a week. You may need to turn seeds to be sure they are fully dried. Place in a labeled envelope for the next growing season.
Do You Need To Have A Garden?
Here’s the best part. If you don’t have the time or space for gardening, you can still use all these tips of freezing, canning, dehydrating, etc.. from purchases at the farmers market.
You can google, or go to Pinterest for so many recipes. Our kitchen bible is the Ball Blue Book, handed down from Evelyn of Gilmore’s, along with Ed’s mom’s green tomato piccalilli recipe. How lucky are we?! This book is no longer in print, but the updated Ball Complete Book of Home Preserving version is here if you’d like to check it out.